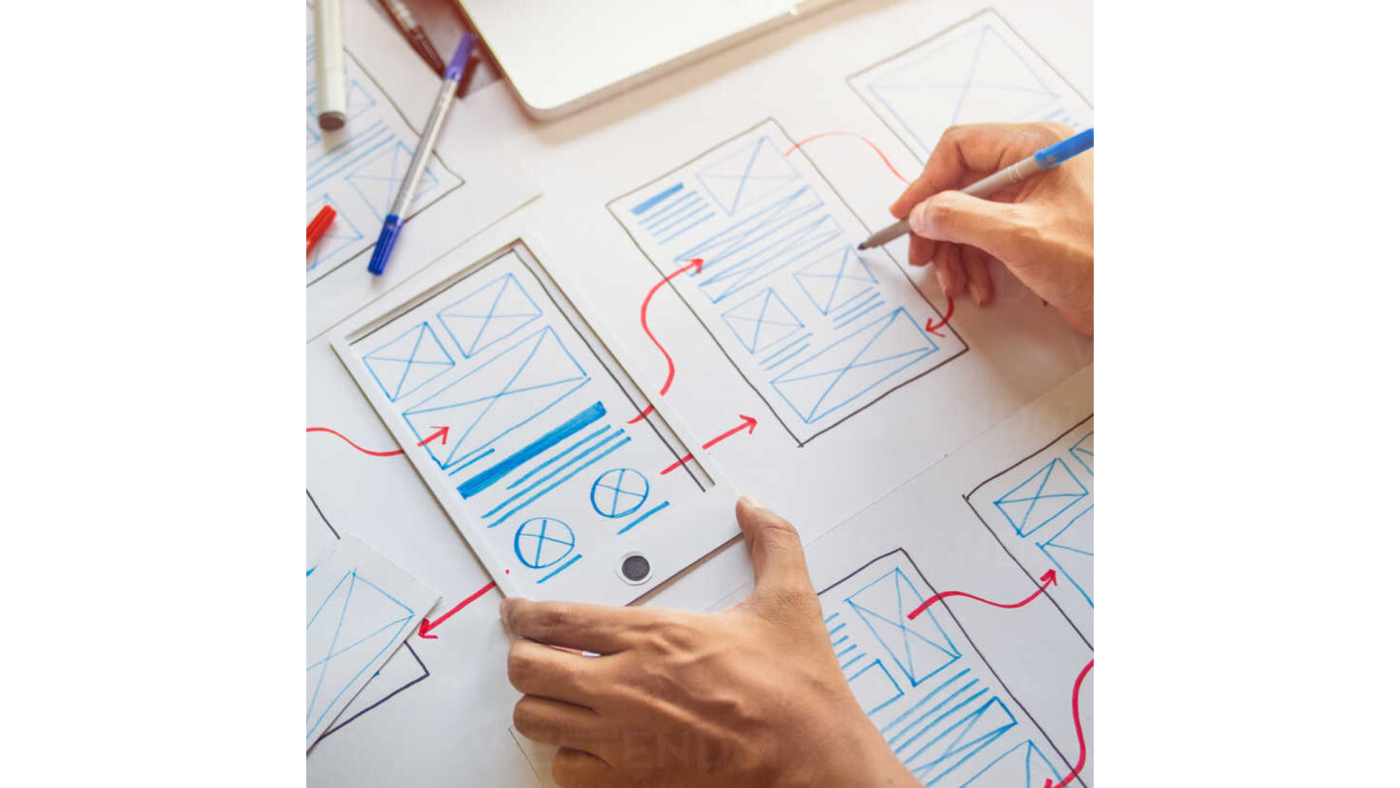
When it comes to building applications the first step is to build a prototype. As we promised in a previous post we come to your help for a better understanding of what a prototype is and how it should be built …
What is a prototype? (Prototype)
It is a visualization or design to describe the application that you want to create and it is the first practical step in your journey to create the application. Initial modeling aims to give a real specification to the business system instead of the theoretical model.
What are the main benefits of the prototype
- Possibility to explore the features and characteristics of the application and test its effectiveness on the target users. The initial design allows for multiple ideas to be explored quickly to present concepts to users rather than to describe them in theory.
- The interaction between the future application and the targeted users can reveal new vulnerabilities or features that you can add. Most often when you display your prototype to users you will notice different reactions. You may discover a new problems or flaws in the user journey for your application and you may discover things that you can simplify.
- It makes it easy for you to create a list of the characteristics and specifications that you want to present to the development company, so you will get a more accurate estimate of the cost and the time required to create the application.
- It makes it easier for programmers to do their work and increases the speed of execution, as many of the questions that programmers ask will find an answer in the form.
Steps to build a prototype
Let’s take a practical example to explain the steps in developing a prototype app.
For example: I want to create a new application on mobile phones, the idea of which is to help people find medical clinics of different specialties in their vicinity.
Have you verified the validity of the idea and that there is a demand for a similar application in the market?You can read how to verify the validity of your app idea in this article .
1. Think about the user journey in your app and the main features you want to add
User journey: it is a scenario or procedure of several steps that the user goes through to achieve a specific goal in the application
In the previous example, we can observe basic features that must be present in the application, as a user:
- I want to create a new account and log in to this application.
- I want to see my location and the location of the clinics near me.
- I want a feature to search for clinics of specific specialties.
- I want to see information about the clinic I would like to go to.
2.Put your thoughts on paper
The first step towards converting your model into reality is to put it on paper. Of course you can use a technical program, but it is useful to imagine the features that you want to add and how it corresponds to the user’s previous journey.
This is the fastest way to visualize your application and implement changes.
In this step, I used a digital program to visualize simple screens of the application, in the example:

3. Find vulnerabilities for the basic features you want to implement
As you can see, you have now a visualization of what the application might look like. It will help you to display this vision to some users, discover other vulnerabilities and repeat this process to reach a more accurate result.
For example: When you display the first form to some users, you may receive many recommendations to add a feature that displays your location and the location of the clinics on a map.
4. Master the design
After you reach a form that covers the gaps and requirements, you can communicate with a designer or even use some programs yourself that make it easier for you to create a model closer to the truth.
For example: adding colors and icons, making the form interactive and clickable (clickable prototype).
Now your template is ready for you to present to a larger group of users. Based on the results you can create a list of features for the development company and decide what you want to add in the first version of your application.
Remember, you can repeat the previous steps based on your reactions until you reach a better result.
Congratulations! You have taken the first step in the journey of converting your idea into a reality. Remember these are among the most important steps to verify the validity of the application and to gain confidence in the implementation of your project.
Devista – Your way into the future!

